Codford
From Our Contribution
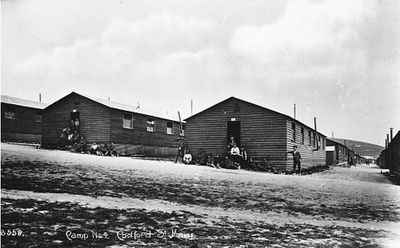
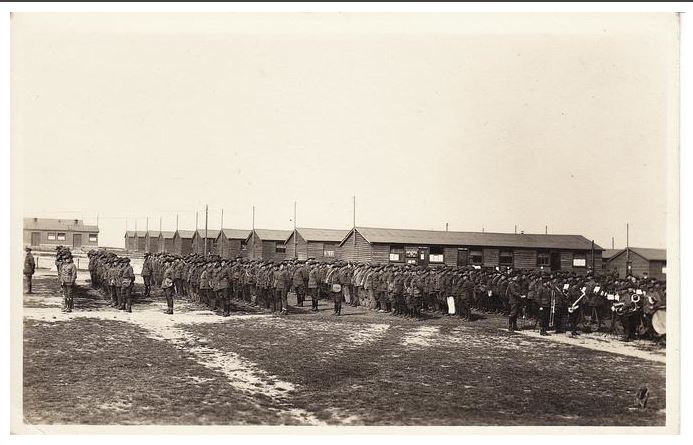 Codford Camp and Australian soldiers | |
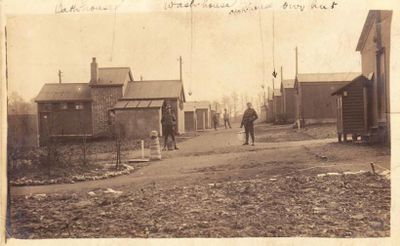
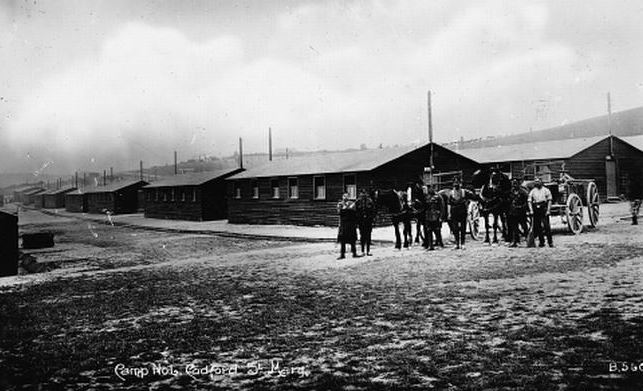 Number 1 Camp at Codford St Mary's | |
Contents
Remarks
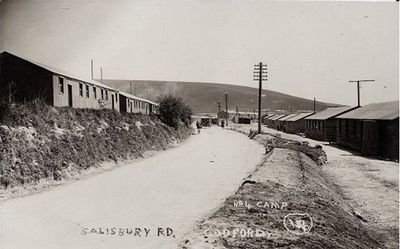
During the First World War, there were no fewer than 15 different camps built in and around Codford, at first to accommodate British troops before their deployment to France but after 1916 also Australian and New Zealand troops (ANZACs). During World War I large training and transfer camps were established for the tens of thousands of Australian troops waiting to move to France. Codford also became a depot in 1916 for the men who had been evacuated from the front line and were not fit to return to the front.
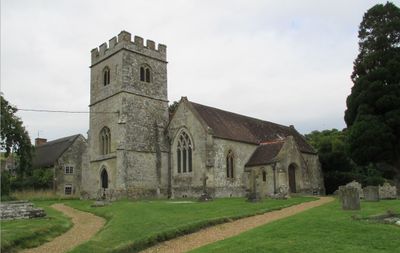
The remains of rows of temporary wooden huts can be seen to the north of St Mary's church stretching along the eastern side of the Chitterne Road. Also clearly visible are the earthworks associated with the Codford Camp Railway that linked the civilian station with the camp sites.
Codford's 'Anzac Badge' was the idea of an Australian Brigade Commander during World War I, who wished to leave a visible memento of his brigade when it departed. This consists of a gigantic Rising Sun badge (measuring 53 x 45 metres), carved in 1916 into the grass of a hillside to expose the underlying bright white chalk. The soldiers of 13 Trg Bn AIF who maintained the badge as a form of punishment named the site 'Misery Hill'.
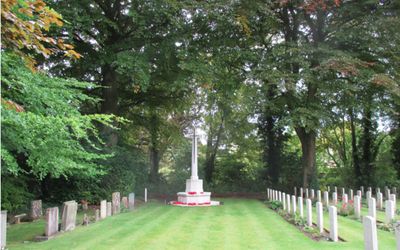
The meticulously maintained Commonwealth War Graves Commission cemetery nearby is the second largest New Zealand War Grave Cemetery in the UK, and contains the graves of 97 Anzac troops, 66 New Zealanders, and 31 Australians.
Soldiers
Notes
